

A terminal can appear to fit a wire and screw yet still be unsuitable for the assembly. An oversized barrel, an undersized contact surface, or a crimp made with the wrong die can create an unreliable connection. Procurement engineers and harness teams therefore need more than a terminal name or insulation color to select the right part. There is also a naming problem: some suppliers use “spade” for a fork and others for a blade connection. Ordering the wrong interface can delay a build even when the wire size is correct. This guide separates those interfaces and explains the checks needed before purchase.
The short answer is to choose fork-style spade terminal connectors when the equipment permits them and removal without taking off the fastener matters. Choose a ring terminal when a closed eye is required to resist sideways disengagement. Neither shape prevents a loose connection from heating. Verify conductor range, stud size, barrel construction, material, plating and tooling against the equipment instructions. OSHA 1910.303 requires suitable conductor terminations in covered U.S. workplaces; it is not a product rating. First confirm what “spade” means on the supplier drawing, then check both wire fit and fastener fit.
What is the difference between a spade terminal and a ring terminal?
In this article, “spade” means a fork-style terminal that fits under a screw head, washer, or approved clamping feature. Some suppliers also use “spade” for flat-blade quick-disconnect terminals, so confirm the drawing before ordering. These are different connection interfaces.
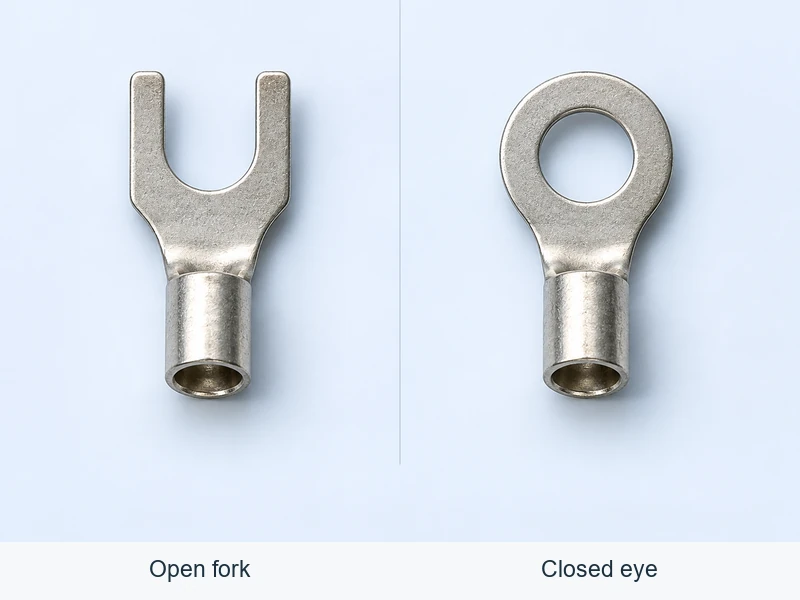
A fork terminal has an open-ended tongue. A ring terminal has a closed eye that must pass over the screw or stud. Both typically connect a conductor to equipment through a crimped barrel and a mechanically fastened contact area.
| Selection factor | Fork-style spade terminal | Ring terminal |
|---|---|---|
| Installation and removal | Usually slides under a loosened fastener when the connection geometry permits. | Usually requires removal of the nut or screw to pass the eye over the fastener. |
| Retention geometry | The open fork can withdraw if clamping is lost and movement allows it. | The closed eye resists sideways disengagement while the fastener remains through it. |
| Service access | Useful where frequent disconnection is expected and fork terminals are permitted. | Requires sufficient access to remove and reinstall fastening hardware. |
| Vibration considerations | Needs particular attention to approved retention features, fastener security, and wire support. | Offers a closed-eye retention advantage, but does not prevent fastener loosening or poor electrical contact. |
| Key dimensional checks | Fork opening, tongue width and thickness, and available clamping area. | Eye diameter, tongue width and thickness, and available clamping area. |
Neither geometry establishes an electrical rating by itself. Suitability depends on the specified terminal, conductor, connection hardware, operating conditions, and equipment requirements. Ring electrical connectors are not automatically appropriate for every high-current or vibration-sensitive installation.
How do you match the terminal to the wire and stud?
Start with the actual conductor specification rather than the wire’s outside appearance. Record its cross-sectional area, conductor material, stranding, and insulation diameter. Then check the terminal manufacturer’s supported range and application instructions.
AWG and square-millimeter sizes describe conductor size using different systems. Do not assume a nearby conversion establishes compatibility. Likewise, two wires with the same nominal cross-sectional area can have different strand constructions and insulation diameters.
| Item | What to check | Why it matters |
|---|---|---|
| Conductor size and construction | Specified AWG or mm² range, strand construction, and conductor material. | An unsuitable barrel may not form the intended mechanical and electrical connection. |
| Insulation diameter | Compatibility with any insulation support, sleeve, or sealing feature. | Conductor fit alone does not establish insulation-support fit. |
| Stud or screw interface | Actual fastener size, eye or fork dimensions, and seating clearance. | The terminal must seat correctly without interference or excessive clearance. |
| Clamping surface | Terminal tongue geometry and the equipment’s specified screw, washer, or clamp arrangement. | The fastener must clamp the intended conductive area rather than the insulation or barrel. |
| Assembly envelope | Adjacent terminals, barriers, tool access, bend space, and protective covers. | A terminal that fits the stud may still interfere with nearby components. |
| Electrical and thermal limits | Documented terminal and equipment limits under the intended operating conditions. | Wire size or terminal appearance alone cannot establish allowable current or temperature. |
Do not use insulation color as the sole acceptance criterion. Color coding can help identify a product family, but the part number and supporting documentation should control selection. Do not place multiple conductors in one barrel unless that terminal and process explicitly allow it.
If a purchasing request uses the shorthand “ring spade,” clarify whether the assembly requires a closed eye or an open fork. A drawing and complete part number are more useful than an ambiguous catalog description. For broader interface distinctions, see this guide to electrical connector types.
How should vibration and service access affect the choice?
For equipment exposed to vibration, consider the whole connection: terminal retention, fastener locking method, cable support, and movement at the wire exit. A closed ring terminal can remain around a stud after some loss of clamp force, but that does not mean the connection remains electrically sound. Reduced contact pressure can still cause heating and intermittent operation. Assess ring electrical connectors under the intended loading and support conditions.
Spade terminal connectors can simplify maintenance where technicians need to disconnect wires without removing fastening hardware. That benefit is useful only when the equipment accepts fork terminals and the fork seats fully under the approved clamping arrangement.
- Prefer a closed-eye connection when the equipment specification requires it or resistance to sideways disengagement is a priority.
- Consider a fork connection when service access is important and the connection hardware is designed to accept it.
- Support the harness so wire movement and cable weight do not load the terminal tongue or crimp unnecessarily.
- Follow specified torque and hardware instructions rather than substituting an improvised washer or locking arrangement.
Neither terminal style is a live-disconnection device. Establish an electrically safe work condition before installation or service. OSHA’s electrical work-practice requirements provide relevant guidance for covered workplaces; they are not a terminal product specification.
How do plating and the environment influence terminal selection?
Check the base metal, plating, insulation material, and mating hardware as a system. Tin plating is common on copper terminals, but “tin-plated” is not a universal corrosion-resistance or temperature rating. Performance depends on the product construction and its intended conditions of use.
Evaluate moisture, condensation, salt exposure, chemicals, temperature, and contact with dissimilar metals. A conventional insulated crimp terminal should not be assumed to provide an environmental seal. Similarly, a heat-shrink covering should not be treated as sealed unless the specified product and completed assembly support that claim.
For aluminum conductors, use a terminal expressly intended for the conductor material and follow its preparation instructions. Do not assume that a copper-wire terminal becomes suitable through the addition of contact compound.
Request documented limits and installation instructions instead of inferring suitability from plating color, sleeve appearance, or a generic environmental claim.
How should the terminal be crimped for repeatable assembly?
A reliable crimp begins with a matched wire, terminal, and tooling combination. Open-barrel contacts, uninsulated closed-barrel terminals, and insulated terminals can require different dies and setup methods. General crimping advice cannot replace the application specification for the selected part.
- Confirm the combination. Check the terminal part number, conductor specification, tool, die, and any required locator or applicator settings.
- Prepare the wire. Strip to the specified length without cutting strands or damaging the remaining insulation.
- Insert and position. Place the conductor fully in the intended crimp zone. Keep insulation out of the conductor crimp unless the product instructions specify otherwise.
- Complete the crimp cycle. Use the prescribed tool operation and orientation. Avoid improvised dies or additional crushing passes.
- Inspect before fastening. Check the crimp and terminal tongue before installing the terminal on the equipment.
- Install as specified. Use the approved hardware, torque, cable support, and protective covering.
Where the process specifies crimp-height measurement, use the defined measurement location and limits. Where pull testing is required, follow the applicable procedure and acceptance criteria. There is no single crimp-height or pull-force value suitable for all terminal constructions.
This overview of terminal crimping tools, sizes, and applications can help frame tooling questions before procurement and assembly teams approve a process.
What should incoming and finished-assembly inspections include?
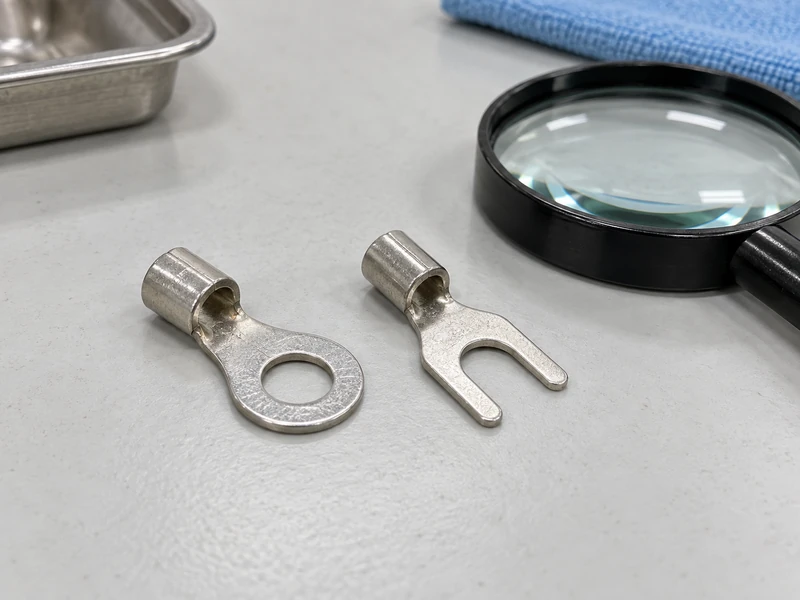
Incoming inspection should establish that the delivered part matches the approved specification. Finished-assembly inspection should then check both the crimp and the fastened connection. Visual inspection is valuable, but it cannot by itself prove internal crimp quality.
- Part identity: Confirm terminal type, part number, conductor range, stud designation, and documented material or plating requirements.
- Wire preparation: Look for cut strands, incorrect strip length, and damaged insulation.
- Crimp condition: Check conductor position, sleeve damage, barrel deformation, and any specified dimensional features.
- Terminal seating: Confirm the tongue lies correctly on the contact surface and is not supported by insulation or trapped at an angle.
- Fastening and routing: Verify the specified torque process, hardware, clearances, and harness support.
- Process records: Retain required tool checks, setup results, measurements, and test records under the assembly quality plan.
Reject or investigate cracked tongues, damaged barrels, unexpected plating damage, loose conductors, and terminals that cannot seat properly. Do not attempt to correct a questionable crimp by adding solder unless an approved process explicitly calls for it.
What information should you send with a terminal inquiry?
Provide the conductor specification, fastener details, required terminal geometry, installation drawing, operating environment, and expected service access. Include tooling constraints and acceptance requirements so the supplier can address manufacturability as well as part availability. Replace a vague “ring spade” line item with an approved geometry. For ring electrical connectors, specify the eye and tongue dimensions independently of barrel size.
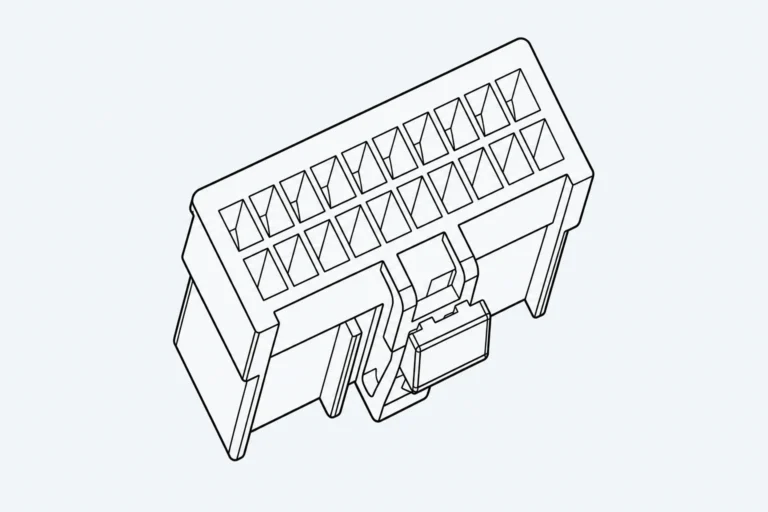
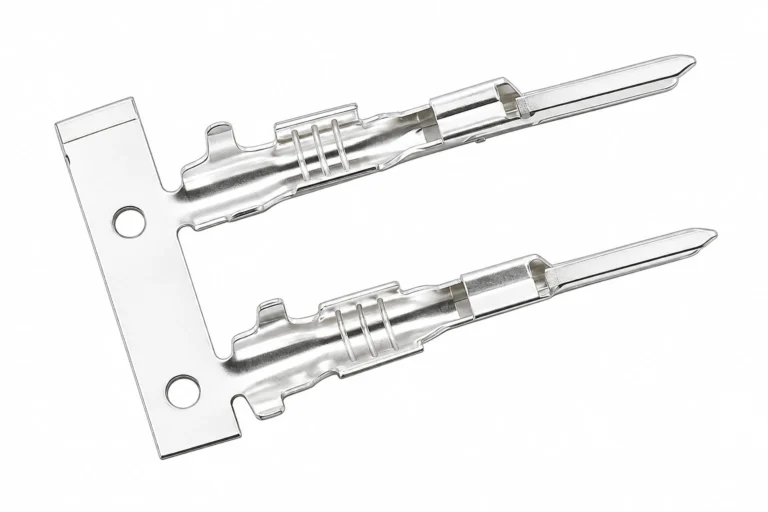
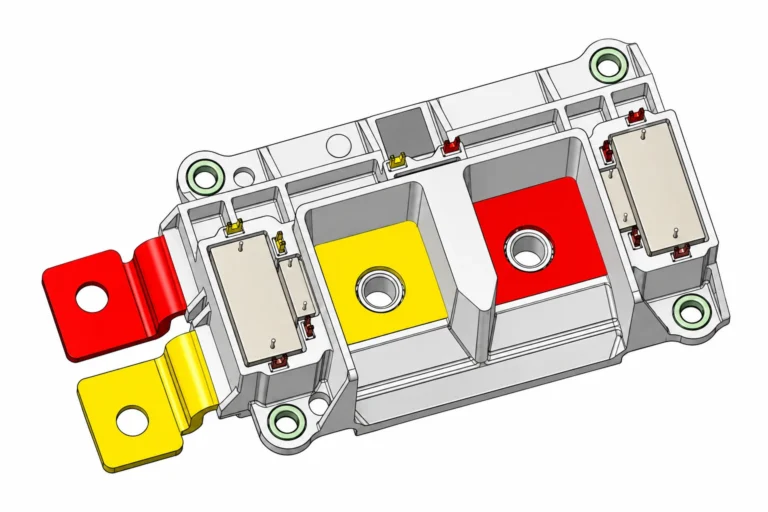
When reviewing a connector product catalog, distinguish individual wire terminals from connector housings and mating contacts. A similar-looking connector listing does not establish that a suitable fork or ring terminal is available.
What are the common questions about wire terminal selection?
What is a wire terminal used for?
A wire terminal provides a defined connection between a conductor and another electrical interface, such as a stud, screw, terminal block, or mating contact. Its function depends on its design. Fork and ring terminals provide a fastened connection, while other terminal types use different mating arrangements.
How do you choose the right wire size for a wire terminal?
Match the conductor’s specified AWG or mm² size, material, and strand construction to the terminal manufacturer’s supported range. Also check insulation diameter where the terminal includes insulation support or sealing features. Select the conductor for the circuit requirements first; do not reduce its size merely to fit an available terminal.
What is the difference between spade terminal connectors and ring terminal?
A fork-style spade terminal has an open tongue that can usually slide under a loosened fastener. A ring terminal has a closed eye and generally requires fastener removal for installation or disconnection. The ring provides greater resistance to sideways disengagement, while the fork can offer easier service access. Both require correct fit and clamping.
How should a wire terminal be crimped and inspected?
Use the specified terminal, wire, and tooling combination. Strip the wire correctly, position it according to the application instructions, and complete the prescribed crimp cycle. Inspect for conductor damage, incorrect insertion, cracked or distorted parts, and insulation interference. Apply dimensional checks and mechanical testing where required by the approved process.
Which public references support installation and inspection decisions?
- 29 CFR 1910.303, reproduced by Cornell Legal Information Institute: paragraph (c) addresses electrical connections, including conductor suitability and mechanical connection. This U.S. workplace rule is not a universal product certification.
- IEC Webstore: IEC 60352-2, Solderless connections, crimped connections — consult the current edition and the component application specification when defining crimp acceptance; a standards reference is not certification of the selected terminal.
- OSHA 29 CFR 1910.333: Selection and use of work practices — electrical safety work practices, including de-energizing and verification provisions; not a terminal qualification standard.
Conclusion: Should the connection use a fork or a closed ring?
Selecting spade terminal connectors starts with the connection interface, not the sleeve color or catalog label. Confirm that a fork is permitted, then match the conductor, stud, clamping surface, and assembly envelope. Where closed-eye retention is needed, choose a suitable ring terminal without assuming its shape alone solves vibration or heating problems. Document material and environmental requirements, approve the tooling, and define inspection criteria before production. Resolve the phrase “ring spade” before it reaches a purchase order. Wenzhou Shenji’s connector catalog can help identify the relevant assembly family; use the contact page to share drawings, wire details and operating conditions, and request confirmation of the proposed component before approval.